How to Photograph Your Artwork Professionally (Even on a Budget)
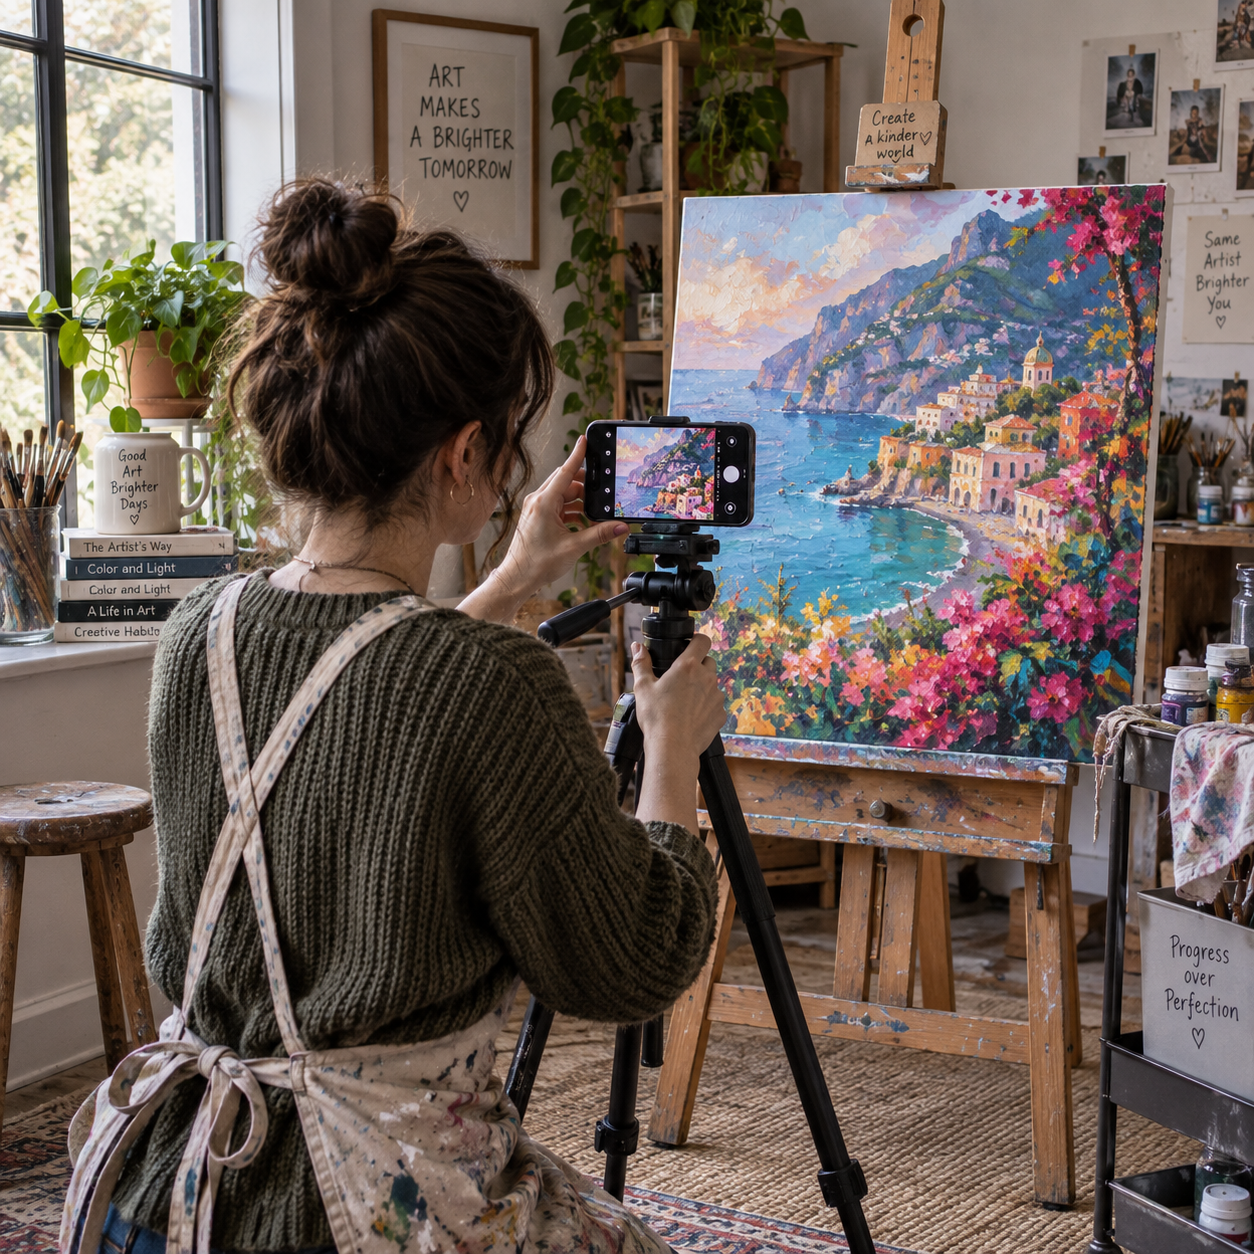
Professional artwork photography is mainly about control: control over light, camera position, color, and editing. You do not need an expensive studio camera to create trustworthy images for an artist portfolio. A smartphone, tripod, neutral backdrop, and carefully managed light can produce clean results when the setup is consistent.
The goal is to show the physical artwork as honestly as possible. Strong glare, tilted edges, inaccurate color, and excessive retouching can make even excellent work look unprofessional. Use the workflow below for paintings, drawings, prints, mixed-media pieces, and other flat artwork.
Prepare Your Artwork and Shooting Space
Prepare artwork photography by cleaning the piece, removing distractions, and placing it against a neutral backdrop in a repeatable space. A simple, uncluttered setup makes color and composition easier to judge.
Dust the artwork gently with a clean, soft brush or microfiber cloth suited to the surface. Do not touch wet paint, fragile paper, loose fibers, or textured areas aggressively. If the artwork is framed, clean the glass carefully and check for fingerprints before every session.
Choose a matte white, gray, or black background depending on the artwork. Mid-gray is often the most flexible because it creates less visual contrast than pure white and is less likely to influence your exposure. Keep the background flat and wrinkle-free. A large sheet of paper, foam board, fabric, or an uncluttered wall can work.
- Remove labels, tape, clips, and unrelated objects from the frame.
- Place small work on a firm board so it does not curl.
- Leave enough space around the artwork for cropping and straightening.
- Turn off mixed light sources, such as warm ceiling bulbs beside a cool window.
- Record the setup so you can recreate it for later portfolio pieces.
For a consistent artist portfolio, mark the floor positions of the tripod and artwork with removable tape. This small habit reduces variation between sessions.
Choose Affordable Photography Equipment
Affordable artwork photography equipment can include a smartphone or digital camera, a tripod, natural light, and inexpensive LED or softbox lights. The most valuable purchase is usually stability rather than a premium lens.
A recent smartphone can produce excellent portfolio images when you use the main camera, clean the lens, and avoid digital zoom. A basic digital camera gives you more control over aperture, exposure, and file formats, but it is not essential. In either case, shoot at the highest practical quality and avoid filters.
Budget equipment that makes a difference
- Tripod: Keeps the camera still and makes repeated framing easier. A phone tripod mount is inexpensive and useful.
- Natural light: A large window provides soft illumination, especially when the sun is not shining directly through it.
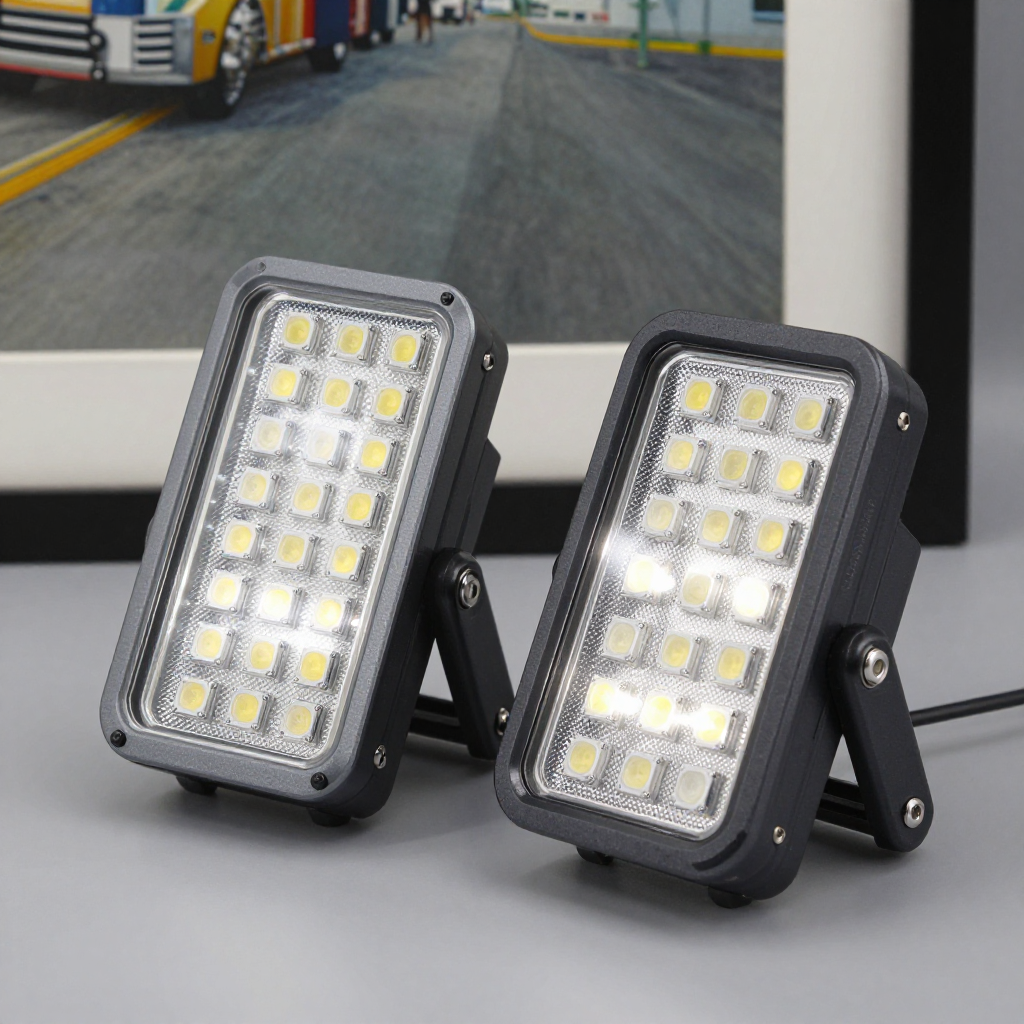
- Softbox or LED light: Two matching lights can create balanced illumination when a window is unavailable.
- Reflector: White foam board can bounce light into a shadowed side of the artwork.
- Neutral backdrop: Foam board, seamless paper, or a plain wall prevents distracting edges and color casts.
DIY solutions are often enough. Use white card as a reflector, a curtain as a diffuser, and books or a sturdy box to raise the artwork. The trade-off is convenience: improvised supports may shift, so check alignment before each shot.
If you use a camera, a normal or short-telephoto lens is generally easier for flat artwork than an ultra-wide lens. Wide lenses exaggerate the distance between the camera and the artwork’s edges, increasing perspective and lens distortion.
Set Up Lighting for Accurate, Even Results
Even lighting comes from two balanced light sources placed at equal angles, or from indirect window light spread across the artwork. Keep direct sunlight and unbalanced lamps away from the surface to reduce glare, reflections, and harsh shadows.
For a window setup, place the artwork near the window but not in a beam of direct sun. Use a sheer curtain to soften the light if needed. Position the artwork so the window illuminates it from the front rather than from one side. If one edge looks darker, place a white reflector on the opposite side.
For artificial lighting, place two matching softbox or LED lights to the left and right of the artwork. Keep them at the same height and angle, typically around 45 degrees from the surface. Move them farther away for a broader, gentler spread, then adjust exposure rather than increasing brightness aggressively.
- Use lights with the same color temperature; do not mix a warm bulb with a cool LED.
- Keep the camera between the lights so it does not cast a shadow.
- Raise lights slightly above the artwork if the lower edge becomes dark.
- For glossy paintings or framed work, change the light angle until reflections move away from the lens.
- Use a polarizing filter only if you understand its effect; careful positioning is usually simpler.
Glossy varnish and glass create a special challenge. Shoot slightly off-axis only as a temporary solution, because it can increase distortion. A better approach is to reposition the lights, remove the glass if safe and appropriate, or create a larger soft light source that produces less concentrated reflection.
Position the Camera and Artwork Correctly
Position the camera parallel to the artwork, with the lens centered at the artwork’s height. This prevents trapezoid-shaped edges and reduces perspective distortion before editing.
Mount the smartphone or digital camera on a tripod. Measure or visually check that the lens points directly at the center of the artwork. The top and bottom edges should appear horizontal, while the sides should appear vertical. If the camera is above or below the center, the shape may look skewed.
Keep the artwork flat against a wall or support and move the tripod backward rather than using a wide-angle setting. Fill much of the frame, but leave a small border so you can straighten and crop without cutting into the piece. A longer distance with modest zoom often produces more natural proportions than standing very close.
Camera settings that help
- Use the main camera lens rather than an ultra-wide or macro mode.
- Tap the artwork to set focus, then lock focus if your device allows it.
- Use a timer so pressing the shutter does not shake the camera.
- Disable portrait blur, beauty effects, filters, and automatic scene enhancements.
- Check the corners of the frame for blur, darkening, or unwanted background.
For large artwork, photograph in sections only when you cannot capture the whole piece from a suitable distance. Multiple images require careful stitching and consistent lighting, so a single straight-on frame is preferable for most portfolio use.
Capture Accurate Color and Detail
Accurate color depends on stable lighting, correct white balance, careful exposure, and a calibrated viewing workflow. No photograph can guarantee identical color across every screen, but you can preserve the artwork’s appearance far more reliably.
Set white balance to match the light source when possible. Daylight, LED, and tungsten settings can produce noticeably different results. Auto white balance may work, but it can change between frames, especially when the artwork contains large areas of one color. Take a test shot and compare it with the original under the same light.
Expose for detail without allowing pale areas to lose texture. Watch for clipped highlights on white paper, bright paint, or varnish. If the image looks too dark, brighten the exposure gradually instead of relying on heavy editing later.
A neutral gray card or color reference can help you correct white balance and color during editing. Place it beside the artwork for one reference photograph, then remove it for the final image. This is especially useful when photographing a series under identical conditions.
Take several test shots and inspect them at full size. Look for sharp brushwork, clean paper texture, straight edges, and hidden glare. Choose the clearest frame rather than automatically using the first one. Remember that your camera, monitor, browser, and the viewer’s screen can all display color differently.
Edit and Export Photos for Your Artist Portfolio
Edit artwork photos conservatively: crop, straighten, correct exposure and white balance, and remove only dust or distractions that are not part of the artwork. The final file should document the original piece rather than reinterpret it.
Start by straightening the outer edges. Crop the image to remove excess background while keeping a consistent border style across your portfolio. Correct perspective only gently; a severe correction usually indicates that the camera was not parallel during capture.
Make small adjustments to brightness, contrast, highlights, shadows, and color temperature. Avoid saturation boosts, dramatic filters, skin-smoothing tools, or texture removal. If a mark is part of the artwork, leave it in place. Dust spots on the lens or backdrop can be removed, but changes to paint, paper, or surface texture compromise trust.
Export settings for online use
- Use JPEG for most portfolio images because it provides broad browser compatibility and manageable file sizes.
- Use PNG when transparency or crisp graphic detail requires it, although files may be larger.
- Export a web-sized copy while keeping a high-resolution master separately.
- Choose dimensions that show detail without creating unnecessarily large downloads.
- Name files clearly, such as artist-title-medium-year.jpg.
Open the exported file in a browser and inspect it on more than one screen if possible. Image editing and file export can introduce color shifts or compression artifacts that are not obvious inside the editing software.
Build a Repeatable Artwork Photography Workflow
A repeatable artwork photography workflow uses the same backdrop, camera height, light arrangement, alignment check, editing approach, and file naming system for every piece. Consistency helps an artist portfolio feel deliberate and makes comparisons easier for visitors.
- Clean the artwork, frame, lens, and shooting area.
- Place the artwork against the neutral backdrop and mark its position.
- Set up natural light or two balanced lights, checking for glare and shadows.
- Mount the smartphone or digital camera on a tripod at the artwork’s center height.
- Align the lens parallel to the surface and frame the piece with a small margin.
- Set focus, white balance, and exposure, then take several test images.
- Review sharpness, color, edges, reflections, and surface detail at full size.
- Edit lightly, export a web-friendly copy, and archive the original file.
For drawings and unframed prints, keep the paper perfectly flat and watch for curled corners. For paintings, give extra attention to surface texture and varnish reflections. For framed work, treat the glass as an optical surface: change light placement before changing the camera angle.
Common mistakes usually come from rushing the setup. Photographing under mixed light creates color casts, standing too close causes distortion, and correcting a crooked image heavily can reduce edge quality. Fix these problems at capture whenever possible. Ten extra minutes with the tripod and lights often saves much longer editing later.
Frequently Asked Questions
Can I photograph artwork with a smartphone?
Yes. Use the main lens, a tripod, stable lighting, locked focus, and no digital zoom or filters. A clean, well-positioned smartphone can create portfolio-ready images.
How do I photograph artwork without glare?
Use indirect light or move two soft lights to equal angles beside the artwork. For glass or glossy varnish, adjust the light position until the reflection moves away from the camera rather than tilting the artwork dramatically.
What is the best lighting for photographing paintings?
Soft, even light is best. Indirect window light or two matching softbox or LED lights reduces harsh shadows and highlights while preserving surface detail.
How can I correct perspective distortion?
Prevent it by placing the camera parallel to the artwork, centered at its height, and moving backward instead of using a wide lens. Minor perspective corrections can be made during editing.
Which file format is best for an online artist portfolio?
JPEG is usually the best choice for standard portfolio images because it balances quality and file size. Keep a high-resolution master separately and export a smaller web copy for faster loading.